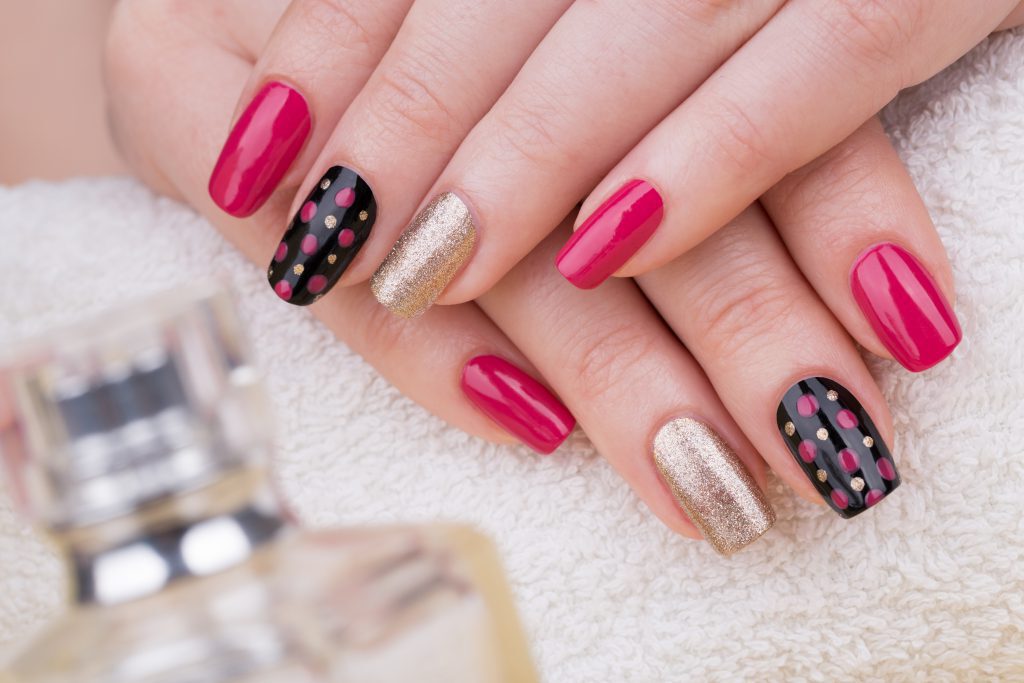
Gel nails have been very popular for a long time now. Hands down learning to do the nails at home is the best option and even though many women use salon services, there are also big numbers of those doing mani in the privacy of their own homes. It’s a budget option and you don’t need to fight for an appointment at a convenient time.
The plus of at-home gel mani is all essential products are inexpensive, plus you can find lots of tutorials leading you step by step. On the other hand, many girls feel discouraged after doing their first mani since it rarely ends up in success. Are you one of beginners wondering what went wrong? Discover the most common mistakes while doing gel nails so that you can avoid them in the future and become a gel master the soonest possible!
1. Not priming the nail plates correctly
You need to start your mani by preparing the nail plates: cut the cuticles, buff the nails, degrease and file them to get the wanted shape. This priming step translates to long-lasting and stunning manicure.
Use a paper file because it’s gentler on nails. Push the cuticles with a wooden pusher and cut them with the nippers. Now, use a cleaner and lint-free wipes to degrease the plates (lint-free pads don’t leave unwanted hairs on nails).
2. Applying too much nail polish
By keeping the amount of gel polish small, you let the product dry and cure in a lamp. Less means more is a rule that surely applies to gel mani. When you apply too thick coatings, you’re likely to create unwanted bumps and rubbery consistency. This results in nails looking simply bad, plus nail polish comes off fast. A better technique involves applying a few thinner coatings – this way guarantees long-wear, lovely mani.
You should also take your time and do your best not to get the polish on the cuticles. If it happens that a bit of product gets on them anyway, soak a wipe in cleaner and remove the polish, apply the product again.
3. Not sealing the tips
There’s a simple trick that many beginners don’t know: you should always seal the tip of the nails. The trick is extremely easy: when using every product – primer, polish, top – apply it along the nail edge as well. This way you prevent air bubbles because the air cannot get inside. In turn your mani lasts longer and doesn’t chip.
4. Removing gel all wrong
Every esthetician has her way of doing it but the most popular method goes like this: the upper coat of polish is removed with a file (you need to be careful and make sure you remove only the surficial layer of the product); then she takes pads soaked in acetone, puts them on the nails and wraps tin foil around each nail. After a couple of minutes the remaining polish is removed with a wooden pusher. If you’re not a beginner, you will surely find nail drill very useful. Thanks to the device you don’t need acetone products and you can skip the foil stage. You just need to adjust the file and the pressure – gel will be removed within several minutes. Your nails will be ready for the new look fast.


Leave a Reply